6.23.2010

Ocean Week - Day 3

Well, my posts are getting shorter and shorter! I spent the majority of the day sewing, so we just had a short little craft this afternoon!

We made fish out of paper plates! I'm sure you've seen this craft a bajillion times, but Millie had a lot of fun with it! I let her use markers instead of crayons (which is a very rare occurrence since it always ends up all over her body, her clothes, the furniture... you get the picture). To make a paper plate fish, you simply cut out a triangle opening to be the fish's mouth, and attach the triangle you just cut out to the other end of the plate for the fish's tail!


... and yes, she's still in her pajamas, at 3:00 in the afternoon, I never said I'm perfect! She just wants to be like her mommy and wear her PJs all day!

6.22.2010

Ocean Week - Day 2

Forgive me for the lack of pictures, my camera battery died and I have no idea where the charger is! Probably wherever my husband randomly decided to put it this time... maybe his sock drawer?

Today we made a yummy ocean-themed lunch!

Fish-shaped Tuna Sandwiches
Goldfish Crackers
and Grapes... well, because Millie loves grapes!


Okay, so anyone that knows Millie knows that she is NOT the world's best eater. She was still fighting baby food at 12 months old, and even now she hardly ever wants to sit down for a meal. But WOW, I left her at the kitchen table eating while rocking Anson to sleep, and unless she found a really good hiding spot, her entire plate of food is gone! I guess I'll have to put a little more creativity into her meals more often!

Millie had a rough night because someone forgot to spray her with insect spray while she rode her tricycle all evening, so she has several giant mosquito bites that she's constantly scratching and complaining about. I decided to let her do her two favorite things for today's activity: Sandbox and Play dough! I really wish I had remembered that it feels like it's 110 degrees (actually only 93) outside before telling Millie she could go play! Oh well, she enjoyed it! We pretended we were at the beach and used fish, crab, and sandcastle molds, and we also pretended to be pirates digging for treasure and seashells. After naps, I'm planning to help the kids mold sea creatures out of play dough! (And when I say kids, I mean watch Millie and hold Anson on my lap, I don't think my 5-month-old boy is quite ready for play dough!)

Today's Lesson is Dolphins!

1. Dolphins are small-toothed whales.
2. They have about 100 teeth, all the same size and shape.
3. Dolphins look like fish and live where fish live, but they are not fish. They are mammals. Mammals feed their young milk, are warm blooded like humans What other animals feed their young milk? What other ocean animals are mammals?
4. Even though they live in the water, they need to come to the surface where they breath air from a tiny hole on top of their head called a blowhole. The dolphin can hold it's breath for 6-7 minutes.
5. Most dolphins are about 6 feet long. Demonstrate the length by walking six feet from a wall.
6. Dolphins can be found all over the world.
7. One of their favorite foods are sardines.
8. Their body is sleek and smooth. Dolphins can actually get sunburned just like us.
9. Dolphins are friendly and intelligent.

I found these dolphin facts along with a lot of games and activities at First-School.

Hope you enjoyed today's activities, make sure to come back tomorrow!

6.21.2010

Ocean Week - Day 1

We're going to start this week out with an easy activity! Well, because Mondays are Mondays and for some reason even though I'm a stay-at-home mom, I'm always dragging on Mondays! So let's make an...

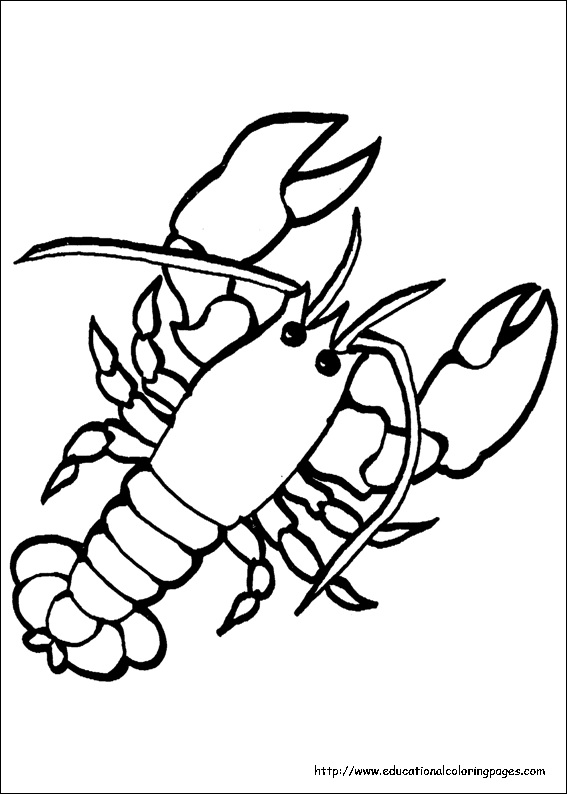
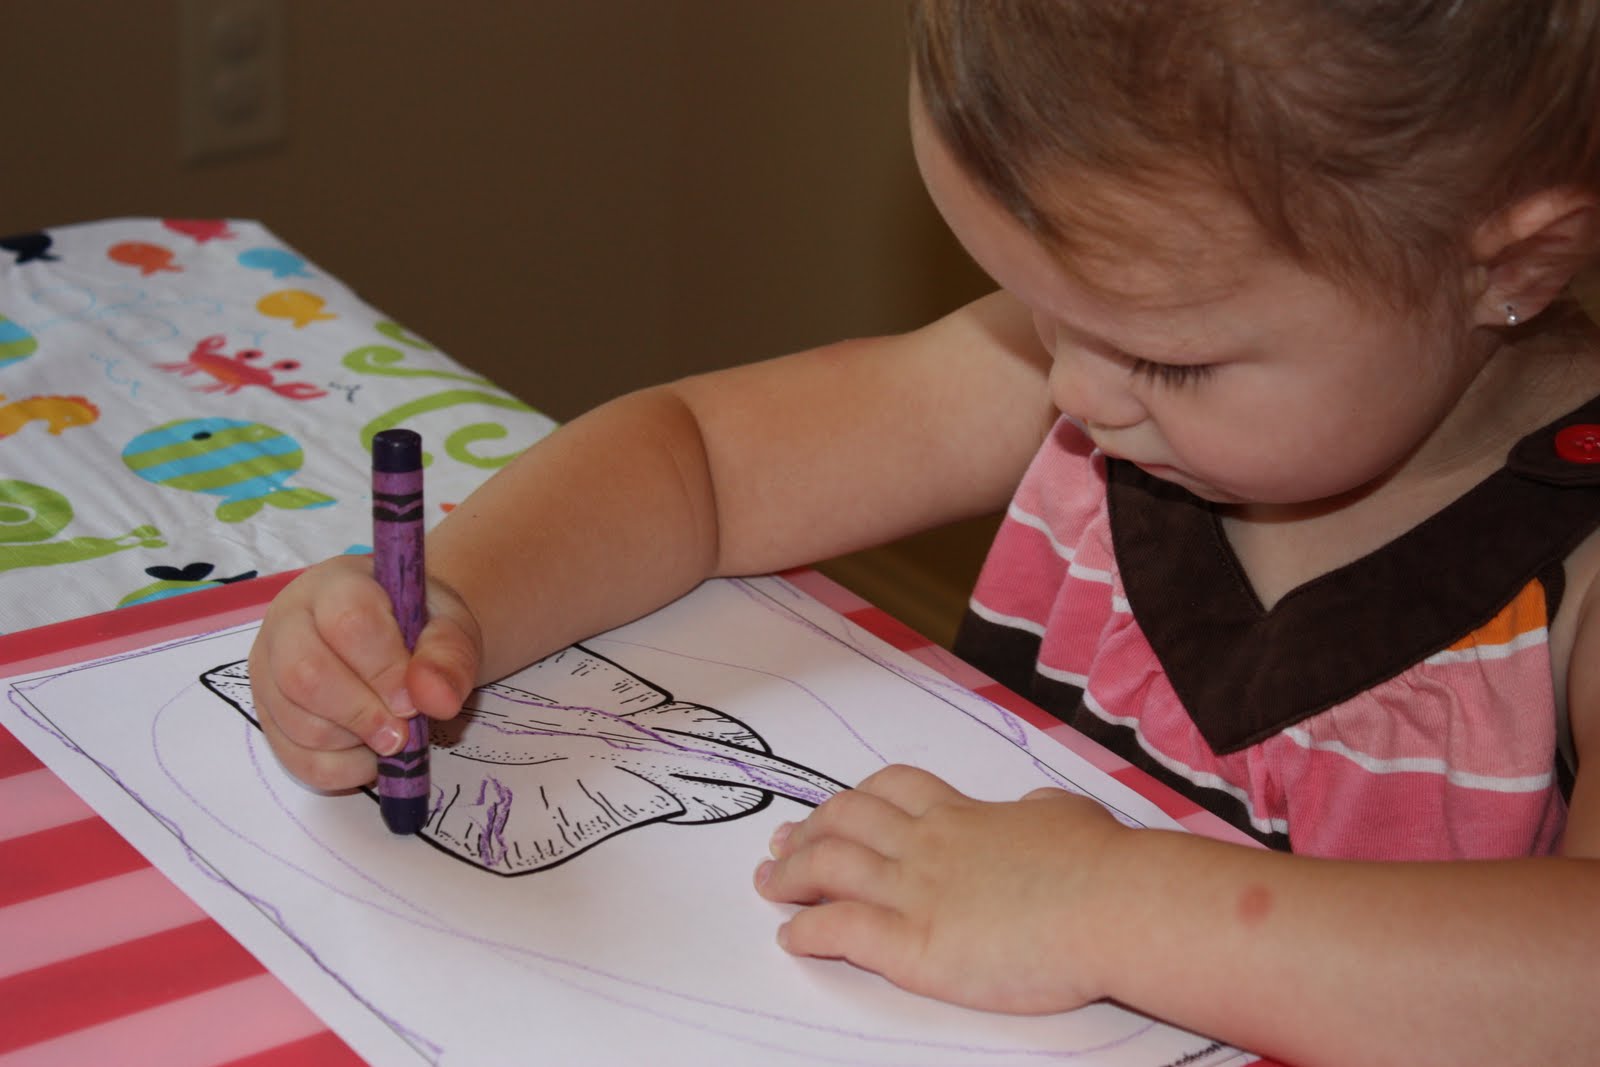
Ocean Coloring Book!


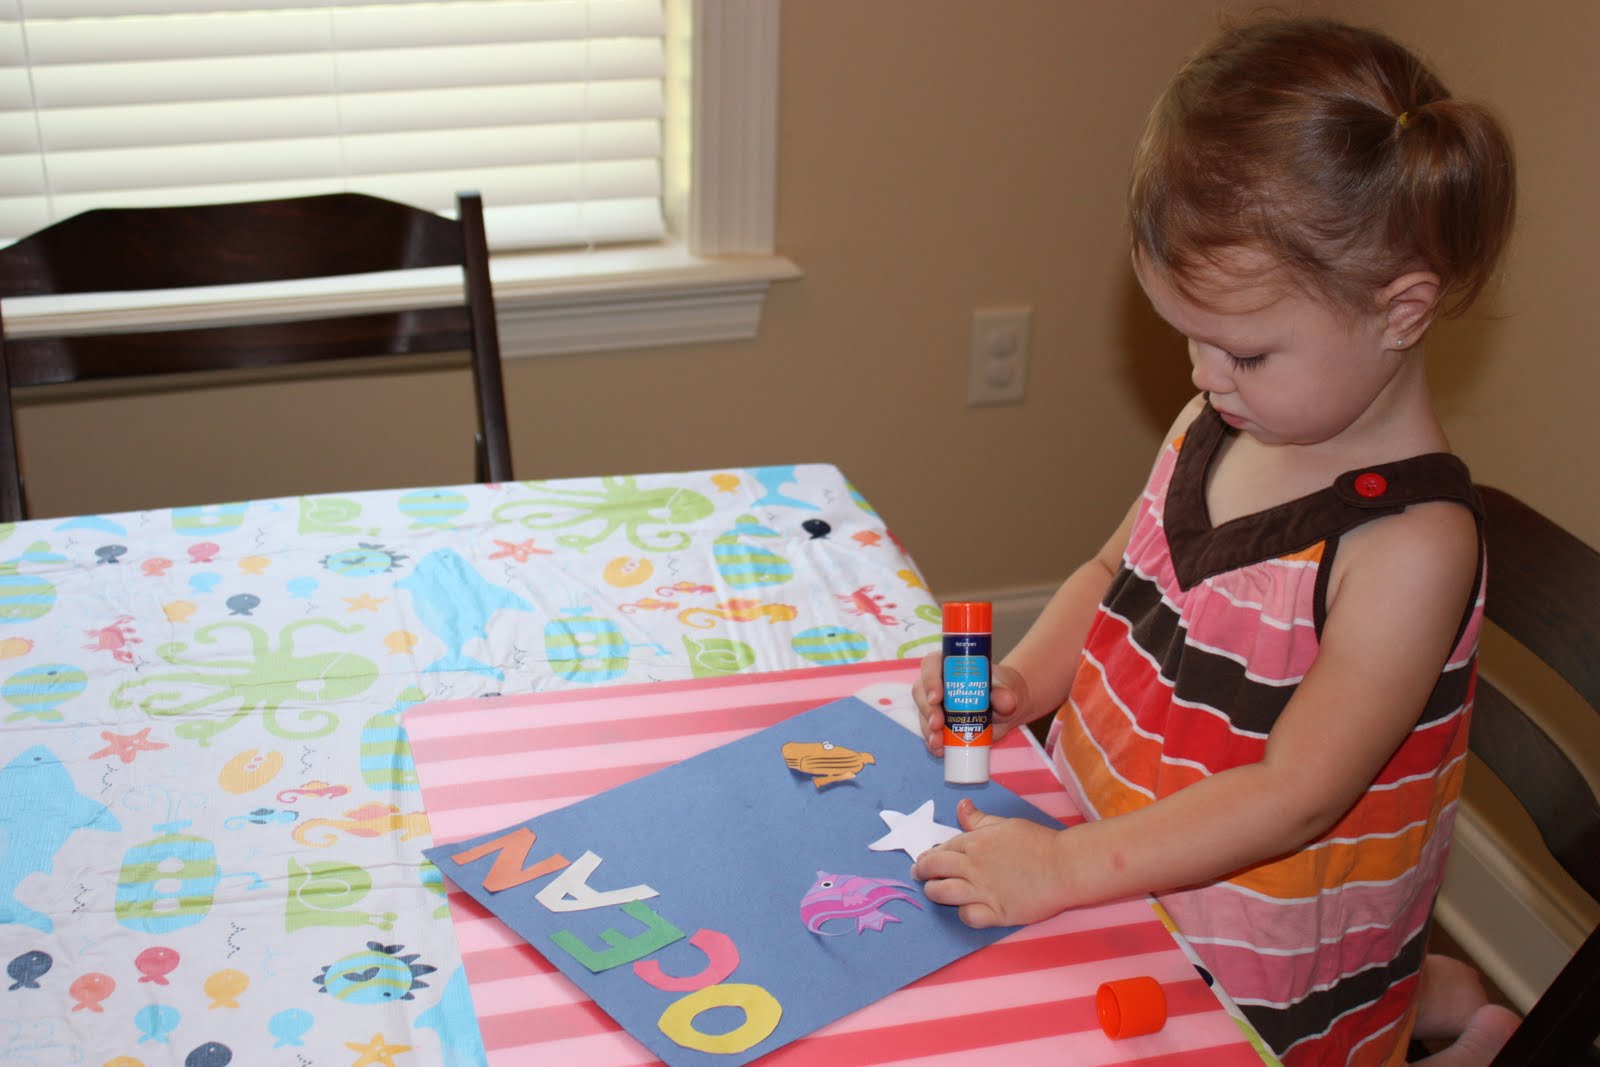
I found these excellent printable coloring pages at http://www.educationalcoloringpages.com/. Simply print them out and use construction paper to create a front and back cover, and staple! Or if you have a hole-puncher and some extra yarn lying around, you can punch holes along the left edge and tie together with yarn. I'm also planning to cut fish and sea shapes out of different colors of construction paper, and let my daughter glue them to the front cover. I've never let her use glue before... so I guess we'll see how it all turns out!

Also on the agenda for today:

Movie: Finding Nemo
Lesson: Whales

I printed out these whale facts from Whale-World.

1. Whales are mammals.


This means that whale calves grow inside their mothers until they are born. Besides, they are nursed and taken care by their mothers until they reach certain age.


2. Whales breathe air as we do.


Therefore, they need to reach the surface of the ocean to breathe because they cannot breathe underwater.


3. To breathe, whales have a blowhole in the top of their heads.


When they reach the surface, they take air in through this blowhole.


4. There are two types of whales, Baleen Whales and Toothed Whales.

There are several species of whales out there, but they are classified according to the way they feed in two types, baleen whales and toothed whales.


5. Baleen whales feed from krill and plankton.

Krill are shrimp-like creatures which are very important ocean creatures.


6. Toothed whales feed from fish and small mammals.

Toothed whales eat several kind of fish, like tuna, cod and salmon among others and some small mammals like seals.


7. The Blue whale is the largest animal in the world.


Even more, it is the largest animal that has ever existed, even larger than the largest dinosour ever found. The blue whale is a baleen whale.


8. Some baleen whales sing.


Particularly the blue whales and the humpback whales are well known for singing.


9. Whales can swim as fast as 30 miles per hour.


10. Some Whales can stay underwater for as long as 90 minutes.


This applies mainly for the sperm whale which can stay underwater for as long as 90 minutes, although a typical dive for other species is around 35 minutes.


11. Whales do not sleep as we do.


To rest, whales sleep only half brain so they remember to take air in, otherwise they would drown.


12. The most famous story about whales is Moby Dick.


Moby Dick is a novel released in 1851 by Herman Melville.


A few pictures from today:


I never even realized that our craft tablecloth goes so well with ocean week, how fun! Don't forget to come back tomorrow to see Tuesday's activity!

6.20.2010

Ocean Week

Well, I'm going through another one of those random "re-organize your life" phases, and I wanted to start it off with some structure. I must admit that I'm not always the perfect mom, especially lately when I've been living at the computer and sewing machine, so I decided that it's time to focus on some structured and educational activities for my kids. Each week we'll focus on a specific topic and have a variety of activities, crafts, and recipes to go along with it. So let's start this week of with...

Oceans!

As a resident of Mississippi with the BP oil spill crisis, it's virtually impossible to not be focused on oceans and beaches right now. It's disturbing on so many different levels. My heart goes out to all of the animals and wildlife being affected, and also the many business owners on the gulf coast. We had big plans of taking my daughter, Millie, on her first beach trip to Ship Island this summer, and now I'm just not sure if that will happen. I've researched online whether the island has been affected yet, and I'm seeing mixed reviews. I remember my last trip to Ship Island, it was the day before my husband asked me to marry him. It was such a beautiful place! While I was swimming, a dolphin actually jumped out of the water only 10 feet away from me! I also stepped on a big fish... scary!! It's saddening to know that I came across so much wildlife just in that small area that I swam in, and now the miles of affected water and land are simply unmeasurable. So in light of the oil spill crisis, let's make this ocean appreciation week!

Each day I will be posting an ocean-themed activity. Make sure to check it out and join the fun!

6.18.2010

The "Lenz Friendz"

So I know you are wondering, what exactly are Lenz Friendz??

Well, here they are!!


They're eye-catching friends for your camera lens!

cute, fun, fascinating, and irresistible!

Where did Lenz Friendz come from?

Well, after a little research online I've realized that I can't take all of the credit because there are a few similar products, but I'll tell you where my inspiration came from. It's all from...
This. Little. Toy.


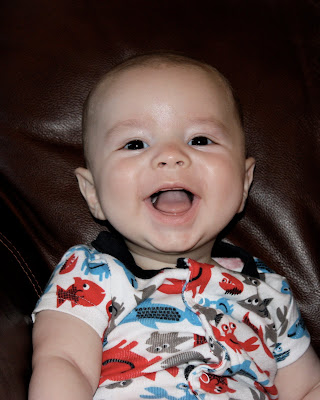
My 5 month old son, Anson, loves this adorable little tiger, so eventually I just started putting it around anything and everything I could think of to keep him happy. His wrist, the jumperoo, his pack-n-play mobile, pretty much everywhere! One day, he was propped up on the couch with his sister for some pictures, and although he's usually a laughable, fun, personality-filled baby boy, the best pictures I could possibly get of him all looked like this:


Then I saw his tiger toy across the room, so I grabbed it and started waving it in the air to make him smile. His eyes followed the tiger's every movement, so I kept trying to get it close enough to the camera to get a straight-on shot without blocking my view. Then it hit me, DUH! I can just wrap this around my camera lens like I wrap it around everything else! And suddenly, I started getting pictures like THIS one:


And so the Lenz Friendz idea was born! I think they are a great way to catch a baby or toddler's attention, not to mention they make your camera look fun and funky! I hope you all enjoy this exciting new product, and make sure to spread the word to all of your friends!

Want one for youself? You can buy one HERE at my Etsy shop! Or become a blog follower and stay tuned to enter a giveaway! Once my blog gets 30 followers, I will be hosting a Lenz Friendz giveaway of your choice!

6.16.2010

Tutorial : Turn a photo into a coloring sheet with Photoshop

Keep reading to learn how to convert an ordinary photo into a coloring sheet like this one!


How do all birthdays and holidays ALWAYS sneak up so fast?

I just realized today that my father-in-law's birthday AND father's day are coming up, and to mail it in time I pretty much needed to mail it, well, today. I always like to include something made by my kids, which can be a little difficult with a two year old and 5 month old. I usually make something involving painted handprints or fingerprints, but I wanted to try something a little different this time, especially since I was so short on time. So I thought... maybe I'll just have Millie color something, so I googled "grandpa coloring sheets" and all I could find were a bunch of pictures of balding old men. My father-in-law might find that a little offensive since he still has a full head of hair, he might think I'm trying to call him old! Then I suddenly remembered playing around in photoshop several months ago and discovering all of the fun and exciting filters. After a lot of trial and error, I finally figured out how to turn a photo into a coloring sheet using photoshop. As an afterthought, I'm sure I could have just googled it and found detailed instructions within seconds, but it's too late for that now!

Instructions:

Find or take a digital photograph with a simple background (most of mine were either a bare wall or a solid couch) with very few shadows on your subject's face.

Open the photo in photoshop and resize it to fit whatever size you're wanting to print (my coloring pages are all 8 1/2 x 11)

Go to Filter ->Sketch->Photocopy and adjust the detail and darkness settings to your liking. I kept most of mine both around 7. And don't worry, if you're not liking how it looks, remember we're not finished yet!

Click Layer->New Adjustment Layer->Levels
In the Adjustments tab under Levels, slide the arrows to adjust the different levels. There should be something that looks kind of like a graph, with three arrows underneath. The left arrow can be used to increase the shadow levels, this will give you darker, thicker lines. The right arrow can be used to decrease the highlight levels, which will clean up some of the noise in your picture. Play around with the levels until you're satisfied.

If you're a perfectionist like me, and want to clean up some of the background and a few splotchy areas, then just make sure that your photo layer is selected (not the level adjustments layer) and use a white brush to color over some of that unwanted noise.

Ta-da! You are finished! Hopefully your kids will have lots of fun coloring pictures of themselves, I know my daughter will!


An introduction of sorts...

Hello and welcome to Frilly Millie!

After years of my friends and family telling me over and over again that I should start a business selling my handmade items, I've finally decided to give it a try! I'm in the beginning stages right now, I signed up at Etsy (LOVE that site), Facebook, Twitter, Flickr, and of course, Blogger! I'm trying to use my very limited knowledge of Photoshop to create a logo and banner, and I've realized that it's a very loooong process, especially for someone like me that can NOT make decisions!

Speaking of decisions... I couldn't even decide what all I wanted to sell, so I guess I'll just have to sell a little bit of everything! I move on from one thing to another so often that it's just so hard to limit myself to only one line of products. So when you ask why I'm selling camera accessories as well as stationery and children's apparel, that is why!

So let me introduce myself...

I am a mother
sister
a daughter
and a wife.
A crafting
painting
sewing
blogging
daydreaming
procrastinating
rambling
pajama-wearing
mother of two

my family is my inspiration, my life, my ♥

How did I get started?

Well, I moved across the country from Mississippi to Seattle, WA when I was pregnant with my daughter, Millie. I didn't bother getting a job because I knew I wanted to be a stay-at-home mother once Millie was born, so I had an abundance of free time on my hands. So sadly enough, I spent a lot (and i mean a LOT) of time online looking at baby stuff and realized that hey, I could make this myself. I started with flower headbands and painted picture frames. Then I moved on to pillowcase dresses and tutus. I basically come up with a new project almost every week, whether it's crafting, sewing, painting, baking, song-writing, photographing, graphic designing, I'll try pretty much anything.

What products do I offer?

I still need to put the final touches on several of my products before I list them, but here is a list of what I have to offer, as well as what I plan to offer in the future:


Camera Accessories:
Lenz Friendz
Camera Strap Slipcover

Home Decor:

Pillows
Picture Frames
Wall Art

Home Office:

Ruffle Quilted Greeting Cards
Flower Quilted Greeting Cards
Covered Notebooks
Crayon Rolls
Jewelry:

Peg Doll Necklaces
Fabric Flower Necklaces

Hair Accessories:

Fabric Headbands
Fabric Flowers on Alligator Clips
Elastic Headbands w/ Variety of Fabric and Felt Flowers
Button Hair Clips

Children's Apparel:

Peasant Tops and Dresses
Pillowcase Dresses
Tutus
Ruffle, Flower, and Appliqued Shirts and Onesies

Women's Apparel:
Dresses (in the near future I hope!)


Where did the name "Frilly Millie" come from?

As I've already mentioned, my daughter's name is Millie. I decided to name my business after her because she's pretty much the reason that I ever became so interested in crafting and sewing. She's also the girliest of all girly-girls, so I thought the name "Frilly Millie" was more than perfect!

Well, it's nice to meet you, and I would love to hear from you! For any questions or comments, just drop me a line here, or e-mail me at: frillymillie@gmail.com

Related Posts with Thumbnails